The Sony a7R Mark III is the company's latest high-resolution full frame mirrorless camera. Much like Nikon's recent D850, it's one that combines this resolution with high speed and fast autofocus capabilities to a degree we've not previously seen. The camera can record up to 100 Mbps UHD 4K video in XAVC S format within an MP4 wrapper at a frame rate of 23.98, 25 and 29.97fps. When the shooting is completed, for Mac users, if you are looking for a free and professional video editing software to edit the Sony A7R III 4K XAVC S footage, iMovie can be your best choice. The following article will show you how to get a smooth workflow of Sony A7R III 4K XAVC S with iMovie.
Can iMovie native import Sony A7R III 4K XAVC S video?
From iMovie supported file formats, we can see that iMovie lacks the ability to handle XAVC S footage. Therefore, you will need to perform a format transcoding process to edit A7R III 4K XAVC S with iMovie.
Transcode A7R III 4K XAVC S for iMovie editing
To get a high quality and high performance editing workflow of A7R III 4K XAVC S with iMovie, it would be much ideal for you to encode 4K XAVC S to iMovie most favorable Apple Intermediate Codec. It was used because it was less processor intensive as the compression scheme did not need the next frame to be displayed.
Looking for a simple to use application to get the job completed, we highly recommend Pavtube Video Converter for Mac to you. The program has perfect importing support for A7R III 4K XAVC S video into the application. Thanks to its batch conversion mode, you can load multiple A7R III 4K XAVC S video into the application at one time for conversion to save your precious time.
Edit A7R III 4K XAVC S
Before loading A7R III 4K XAVC S video into the iMovie, you can also complete some basic video editing work with the program's built-in editing options. You can trim unwanted video segments from the video, crop video to remove the black bars, add transparent text watermark, apply special rendering effects, insert external srt/ass/ssa subtitles, etc.


How to Import and Edit Sony A7R III 4K XAVC S with iMovie?
Step 1: Import Sony A7R III 4K XAVC S video.
Download the free trial version of the program. Launch it on your computer. Click "File" menu and select "Add Video/Audio" or click the "Add Video" button on the top tool bar to import Sony A7R III 4K XAVC S video into the program.

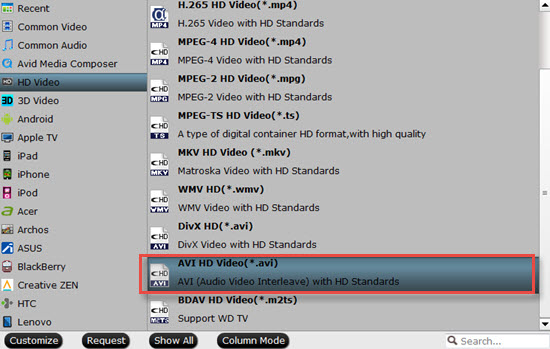
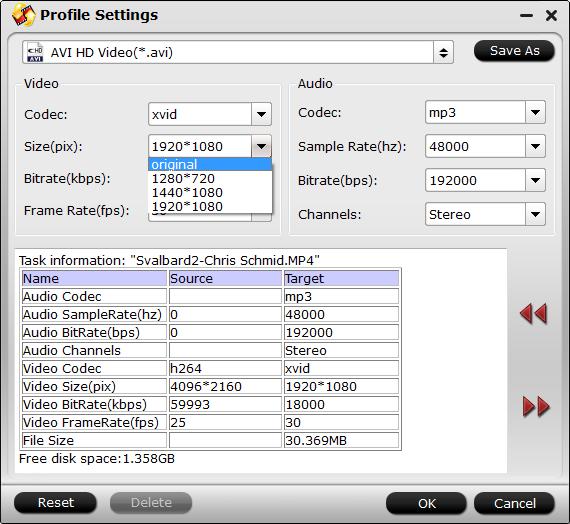
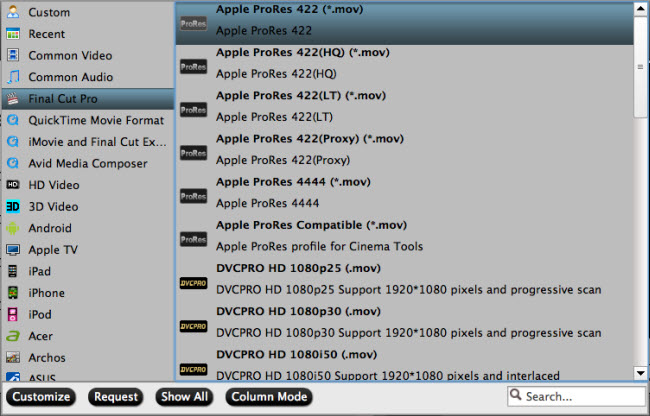
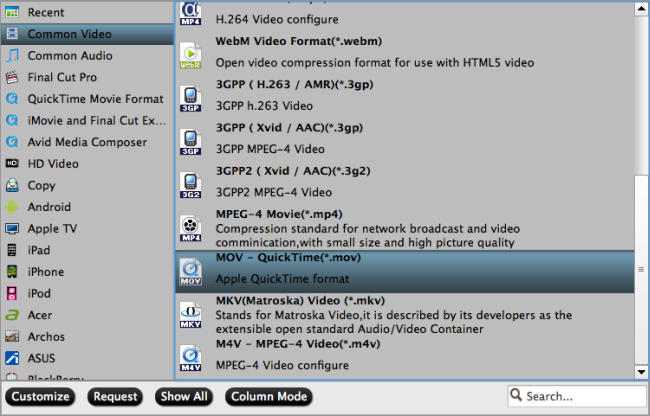
Step 2: Choose output file format.
From "Format" drop-down option, choose iMovie best editing codec by selecting "iMovie and Final Cut Ex..." > "Apple Intermediate Codec (AIC)(*.mov).

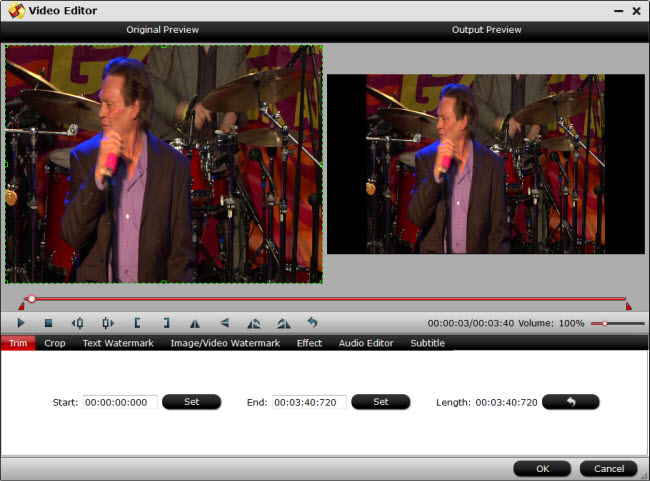
Step 3: Edit Sony A7R III 4K XAVC S videos.
By default the Edit icon is grayed out. To activate the Edit menu, you have to select an item first. When a video or movie is selected, click the pencil like Edit icon on the left top tool bar to open the video editor window, here, you can play and preview the original video and output effects. Also you can flip or rotate video, trim, crop, add watermark, apply special effect, edit audio or insert external subtitle.

Step 4: Start the conversion process.
After all the settings is over, go back to the main interface and hit right-bottom "Convert" button to start to convert Sony A7R III 4K XAVC S to iMovie best compatible Apple Intermediate Codec editing format.
When the conversion is completed, launch iMovie on your Mac computer to import converted video to iMovie for smooth editing workflow on either fast or slow Mac computer.
Related Articles
Any Product-related questions?support@pavtube.com