The WX970 4K cameras have won a lot of attractions from videographers in that it delivers 4K videos with hand-held design. If you plan to get one, it will be enjoyable for you to have attractive 4K videos. However, a few issues may occur while playing, editing, uploading and sharing Panasonic WX970 4K footages in usual player, authoring software and website. This article aims to give you some tips and tricks for WX970 4K videos workflow on Windows/Mac. Please move on and find something which benefit to you.
To spread some superb masterpiece to the world, you must be eager to know how to bring 4K videos which are recorded by your Panasonic WX970 4K camcorders to Windows/Mac for various entertainments. The most effective way to solve WX970 4K video playing, editing, uploading and sharing issues is to convert 4K clips to different objects friendly format using Pavtube 4K Video Converter. It also has Mac version. With Panasonic WX970 4K Video Converter, you can convert any 4K video clips to NLEs including FCP X/7/6, iMovie/FCE, Adobe Premiere Pro, Sony Vegas, Avid Media Composer and so on for editing. And any 4K footages to players like QuickTime for playing, websites like YouTube/Vimeo for uploading and sharing are all realizable.


How to import Panasonic WX970 4K videos to Windows/Mac?
Step 1: Install and launch the 4K Video Converter, click “Add video” button to import Panasonic WX970 4K files to the converter, or directly drag and drop the 4K videos to it.
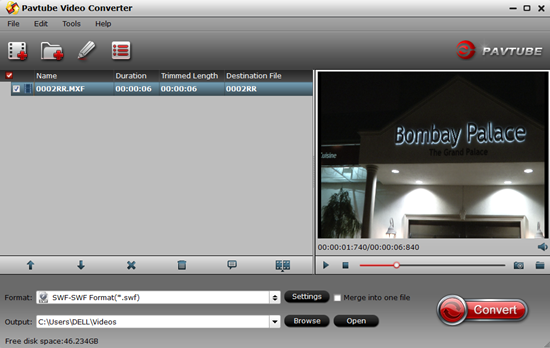
Step 2: Open the “Format” button on the left of the preview window, drop down the list and choose the output format according to your different devices and programs. For example, if you want to edit WX970 4K videos in Sony Vegas Pro 13, you can choose “Adobe Premiere/Sony Vegas>>MPEG-2 (*.mpg)” as output format. Besides, you can also choose WMV (VC-1) (*.wmv) if you want to get a relatively smaller output file.

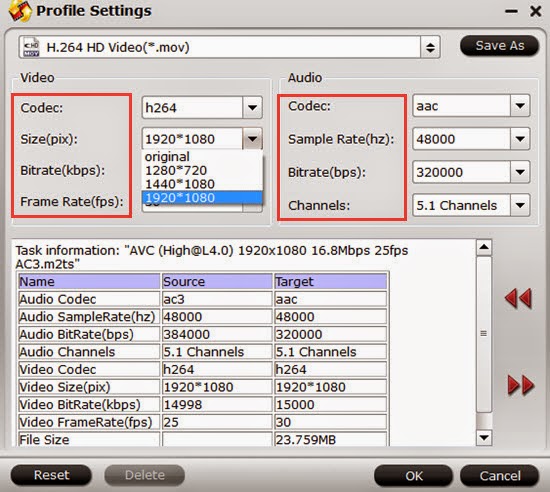
Step 3: If you want, you can go to the “Settings” panel to customize proper video/audio parameters including video size, bitrate, frame rate and more.
Step 4: Click the “Convert” button to start converting Panasonic WX970 4K clips. After the conversion, click “Open” button to get the output videos. Create a project and start playing, editing, uploading and sharing.
Conclusion: Are you clear about how to bring Panasonic WX970 4K videos to Windows/Mac for enjoyment? Also, you can burn the converted videos to CDs for preserving. Good news for you! There are money-saving bundles and deals. Go ahead and have a look.
Further Reading:
- Advice on Buying Streamers of Roku, Apple TV, Chromecast and Amazon Fire TV: Among Roku, Apple TV, Chromecast and Amazon Fire TV, you maybe want to know which one has the coolest features, which one is the best, which one is the most popular.
- How to Store and Stream Movies with Plex for Beginners?: Plex organizes all of your personal media so you can enjoy it no matter where you are. Here are several important steps to store and stream videos, music, movies with Plex in your home.
- H.265 vs XAVC vs H.264 high profile output: For many person who just touch the electronic world, the thing which makes them very confused is that the difference, the advantages and disadvantages among those codecs.