Have no idea of choosing Apple ProRes or ProRes HQ when moving Panasonic GH4 MP4 videos to FCP X for a nice editing?
Overview: Cause we all know that there are several types of Apple ProRes codec which could all be suitable for Final Cut Pro X. However, usually we don’t know how to make a right choice, right? In this article, as the example of moving Panasonic GH4 4K videos to FCP X, for Apple ProRes 422 and Prores HQ, which one could we choose as the better one? If you have aother NELs like DaVinci Resolve, Avid, etc for requirements, here we go.
Detailed introduction of Apple ProRes and ProRes HQ we can learn below:
Apple ProRes 422, the original and common one which was used frequently in our life, target data rate of approximately 145 Mbps (1920 x 1080 at 60i). Generally speaking, it can meet our requirements when transcoding our videos.
Apple ProRes 422 HQ, for a first step, ‘HQ’ we can surely understand as ‘high quality’. It offers the utmost possible quality for 4:2:2 or 4:2:0 sources (without an alpha channel) and provides the following: Target data rate of approximately 220 Mbps (1920 x 1080 at 60i).
Any converting assistant there we can convert our GH4 4K videos to ProPres for FCP X?


Fortunately, today we here have a nice choice for you. Pavtube HD Video Converter for Mac, which can offer you the complete Apple ProRes codec for you. Such an easy assistant that each one could work well. Open the program, with ‘Add video’ and ‘Add from folder’ we can import our source files successfully. Drop down the output list, you can find all kinds of Apple ProRes there. In order to preserve the 4K definition, we here strongly recommend the ‘Apple ProRes Codec 422 HQ (*.mov)’ for you!

Note: For these two kinds of ProRes codec, which one we should select depends on the original video definition you know. We should match them well to achieve the best effect.
Also, in the ‘Settings’ button, we can additionally set our video codec , video size, frame rate or even the audio channel if we want, right? More details you can have a try on your own or watch the following screen shot.
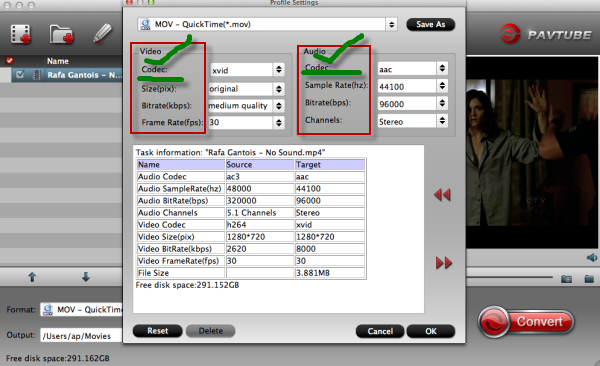
In the end, go back to the main interface, the red button'Convert' is waiting for a click to start the job. With this Mac HD Video Converter, do you still worry about your Panasonic GH4 4K videos editing in FCP? Good luck!
Want more: