- Hot search: MXF to Premiere|MXF to YouTube|MXF to FCP X
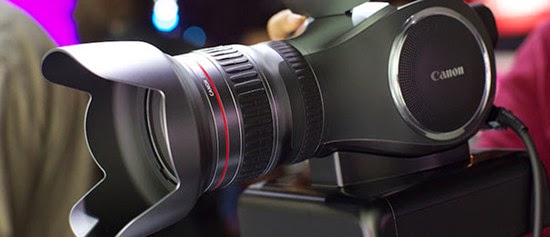
The incompatibility issue also happens to Windows users: “The latest Canon XC10 XF-AVC 4K camcorder seems not bad to take the higher images but I got some troubles when importing the XC10 4K MXF recordings to VLC for playback. ‘Errors’ always appeared there on the screen. The files were broken or incompatible problems? I need some help.”
If you familiar with HD video format, you may know the main reason is the MXF video codec. Most MXF files are encoded with a non-Microsoft codec or with a codec not installed on your Mac/Windows computer. You will fail to play this kind of MXF videos. For users who want to play XC10 4K MXF on different media players such like QuickTime, VLC, Windows Media Player or Playback Pro and etc. on Yosemite/Windows 10, fortunately, Pavtube MXF Converter for Mac and Pavtube MXF Converter can be the best MXF transcoding programs to help you a lot. You can choose the corresponding version according to your requirements.


Steps on how to play XC10 4K MXF on Yosemite/Windows 10 (Take playing XC10 4K MXF on QuickTime on Yosemite as an example):
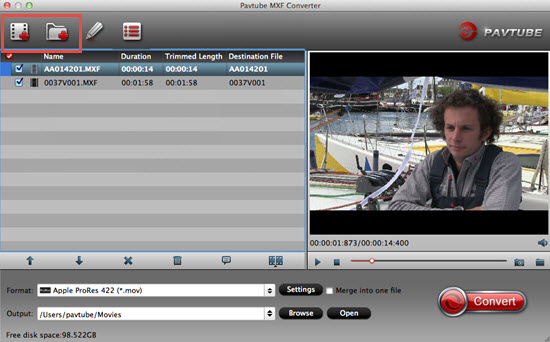
Step 1: Download, install and run this Mac MXF Converter as a professional MXF to QuickTime Converter. If you are running on Windows 10, download, install and launch the corresponding MXF Converter. You can click “Add video” button to import XC10 4K MXF to it when the main interface pops up. Directly drag the files in is also not a bad idea.
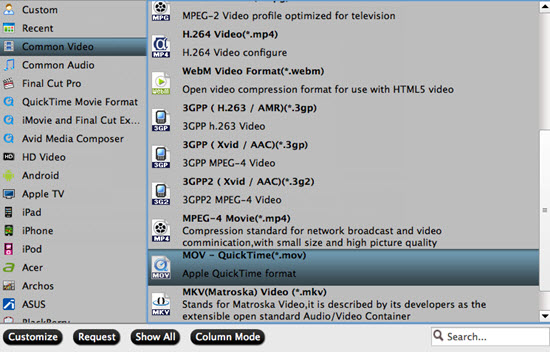
Step 2: Click “Format” bar and choose best output format for output. Click and choose “Common Video>>MOV-QuickTime (*.mov)”. You can also choose other formats according to your output devices and usage.
Tips: For playing XC10 4K MXF on VLC on Windows 10, choose “Common Video>>H.264 Baseline/Main/High Profile Video (*.mp4)” as output format. Why not have a try with free trial for playing XC10 4K MXF on other media players on Yosemite/Windows 10? You are definitely good readers!
Step 3: (Optional Functions) Generally speaking, the default settings will ensure you a good balance between file size and image quality. But you can still click “Settings” button to modify video and audio settings like codec, resolution, bit rate, frame rate, sample rate, and audio channels in your own way.
Step 4: When ready, click “Convert” button to begin format conversion. As soon as the conversion is complete, you can click “Open” button to get the generated 4K MXF files that are ready for playing with QuickTime, VLC and other media players on Yosemite/Windows 10.


Conclusion: If you have plenty of 4K MXF to convert, you can choose bunch conversion. Select the files you want to convert at the same time, and then click the "Convert" button. The maximum number you can convert at a time is four; you can choose the conversion number by clicking “Option” button in the main UI. Maximum simultaneous running processes are for you to change.
Further Reading:
- How to Play AVCHD Video on Dune HD Player?: If you have a Sony CX360V, have you ever thought about getting Sony CX360V AVCHD play on Dune HD player?
- Convert Multi-audio Channels MXF with Original Audio Tracks Preserved: How to keep multiple audio channels when converting MXF to MP4/MKV/MOV format with lossless quality?
- How to Edit Fraps recorded files with FCP, Premiere, Avid on Mac OS X Yosemite?: Scratching your head to find a doable program to make Fraps footage compatible with FCP, Premiere, Avid and other NLEs for smooth editing?